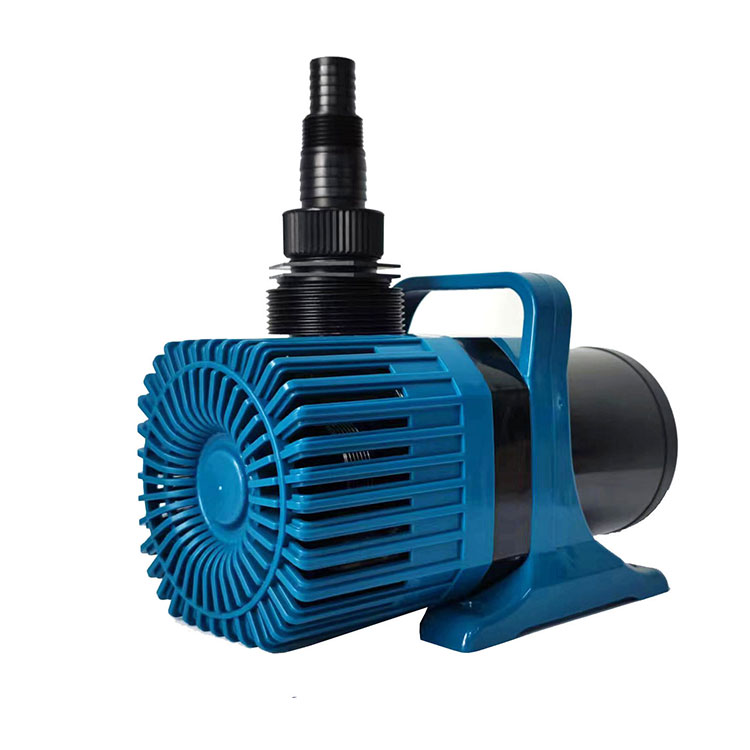
A Step-by-Step Guide to Installing Your Garden Water Pump
2024-03-06
A garden water pump is a valuable asset for any gardening enthusiast, providing efficient water distribution to nourish your plants and keep your garden thriving. Proper installation is crucial to ensure optimal performance and longevity of your pump. Whether you're setting up a new pump or replacing an old one, here's a comprehensive guide to help you navigate the installation process with confidence.
1. Choose the Right Location: Select a suitable location for installing your garden water pump. Ideally, it should be placed near the water source (such as a well, borehole, or tank) and close to the area you intend to irrigate. Ensure there is sufficient space for the pump and any additional equipment, such as pipes and fittings.
2. Prepare the Site: Clear the installation site of any debris, obstructions, or vegetation. Level the ground if necessary to provide a stable and even surface for the pump. Ensure that the area is well-drained to prevent water accumulation around the pump.
3. Check the Power Source: Determine the power source for your pump, whether it's electricity, gasoline, or solar energy. Ensure that the power outlet or connection is accessible and compatible with the pump's requirements. If using electricity, consider installing a weatherproof outlet cover for outdoor use.
4. Assemble the Pump and Accessories: Carefully unpack the pump and any accessories included in the package. Follow the manufacturer's instructions to assemble the pump, attaching components such as the intake hose, outlet hose, fittings, and connectors. Use thread sealant or plumber's tape to secure threaded connections and prevent leaks.
5. Install Intake and Outlet Pipes: Connect the intake pipe to the pump's intake port, ensuring a tight and secure fit. If using a submersible pump, lower the pump into the water source until it reaches the desired depth. For surface pumps, position the pump above the water source and connect the intake pipe accordingly. Similarly, attach the outlet pipe to the pump's outlet port, routing it to the desired irrigation area.
6. Prime the Pump (if necessary): If you're using a surface pump, it may require priming to remove air from the system and establish suction. Follow the manufacturer's instructions to prime the pump manually or use a built-in priming mechanism, such as a priming plug or valve. Ensure that the pump is fully primed before starting it up to prevent damage to the motor.
7. Secure the Pump: Once the pump and pipes are properly connected, secure the pump in place using mounting brackets, straps, or anchors. Ensure that the pump is stable and level to prevent vibration and minimize noise during operation. Use rubber or foam padding to dampen vibrations and protect surfaces from damage.
8. Test the Pump: Before putting the pump into full operation, perform a test run to check for any leaks, unusual noises, or malfunctions. Start the pump according to the manufacturer's instructions and observe its performance. Monitor the water flow, pressure, and motor operation to ensure everything is functioning as expected.
9. Adjust Settings (if necessary): Depending on your specific watering requirements, you may need to adjust the pump settings, such as flow rate, pressure, or timer settings. Refer to the pump's user manual for guidance on adjusting settings and optimizing performance for your garden.
10. Regular Maintenance: After installation, establish a regular maintenance schedule to keep your garden water pump in top condition. Perform routine tasks such as cleaning the intake screen, checking for leaks, inspecting seals and connections, and lubricating moving parts. By staying proactive in maintenance, you can prolong the lifespan of your pump and ensure reliable performance season after season.
With these step-by-step instructions, installing your garden water pump doesn't have to be daunting. By following best practices and paying attention to detail, you can set up your pump with confidence and enjoy the benefits of efficient watering for your garden. Remember to consult the manufacturer's instructions and seek professional assistance if needed to ensure a successful installation.


